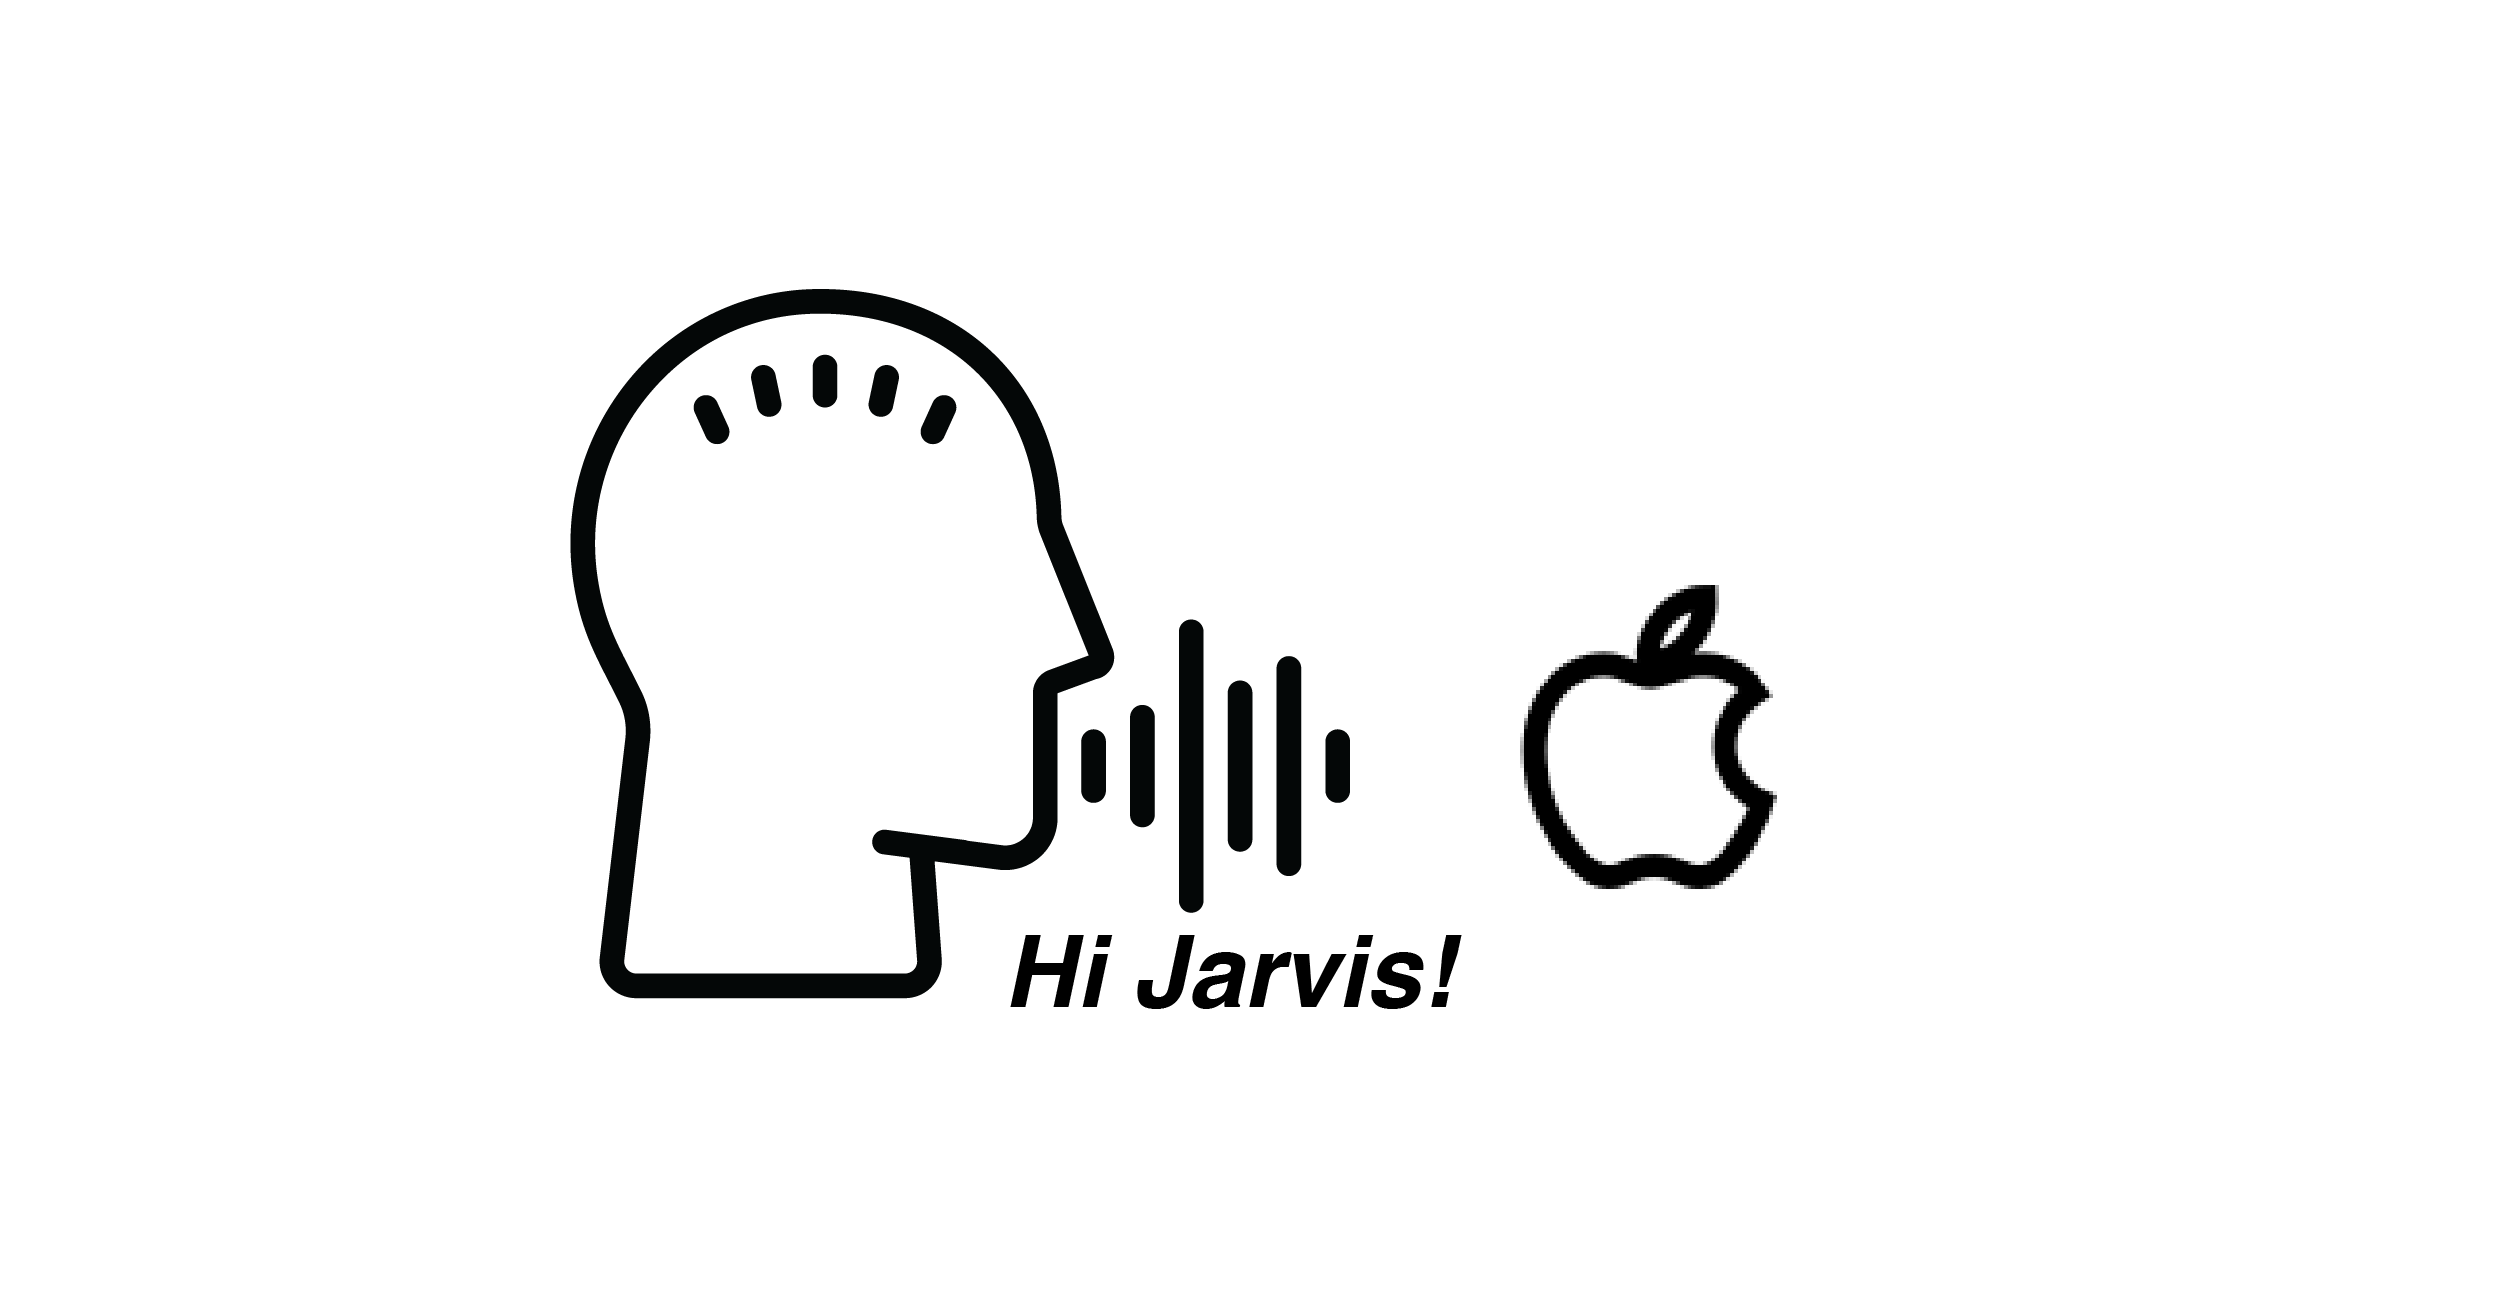
iPhone + Bluetoothイヤホンを使って「OK, Google」のようなHot Word Detectorを実装した。Raspberry Piの時も使った「Snowboy」とiOSの「AVAudioEngin」を使って割と簡単に実装できる。
Xcode設定
- ここから必要なファイル群をダウンロード
common.resとjarvis.pmdlをXcodeのBuild Phases->Copy Bundle Resources からBundle Resourcesに追加する- 次に
libsnowboy-detect.aをLinked Frameworks and Libraries に追加する - 同じくLinked Frameworks and Librarieに
Accelerate.framworkを追加する - Wrapperクラス(
nowboy-detect.h、SnowboyWrapper.h、SnowboyWrapper.mm)をプロジェクトに追加する。 - 追加時に、Bridging-Headerの作成を確認されるので、存在していない場合は作成する(ファイル名は、環境によって異なるので要確認)。作成したファイルに、
#import "SnowboyWrapper.h"を記述する - XcodeのBuild SettingsからEnable Bitcode を No に変更する
- Capabilitiesから、Background Modes で「Audio, AirPlay, and Picture in Picture」にチェックを入れる
- Info.plistに「Privacy – Microphone Usage Description」を追加する
Hotword Detectorの実装
ここまで準備ができれば残りは簡単。まずは以下のようにホットワードの認識モデル(.pmdlもしくは.umdl)をインポートする。今回は「Jarvis」を使っているが、「Alexa」や「OK, Google」なども使うことができる。他のモデルを作りたい場合は、kitt.aiのサイトからモデルを作成できる。
Bluetoothイヤホンを使う場合は、AVAudioEngineのsetCategoryで、オプションとして.playAndRecordと[.allowBluetoothA2DP, .allowAirPlay, .allowBluetooth]を設定する。さらに定期的に音声データを処理する為には-installTap(onBus:bufferSize:format:block:)をinputNode.installTapに追加することで、処理を挟むことができる。定期的に呼ばれるブロックには、bufferSizeで指定したサイズ分のデータがAVAudioPCMBufferに渡されるので、それを使ってホットワードの検知を行う。
[追記]
スマートフォンのマイクを使う場合、Hotword Detectorには16000Hzのオーディオデータを渡す必要がある為、データフォーマットを変換しなければならない。Bluetoothマイクの場合は、Inputが16000Hzに設定されているので、installTapのブロック内でも音声データを16000Hzで取得できる。しかし、スマートフォンマイクInputは44100Hzなので、ホットワードがうまく検出されない。そこで、installTapのブロック内で、44100Hzから16000Hzへのダウンサンプリングの処理を行う必要がある。
protocol HotwordDelegate {
  func didHotwordDetect()
}

class MyHWDetector: NSObject {
  private var audioEngine = AVAudioEngine()

  let RESOURCE = Bundle.main.path(forResource: "common", ofType: "res")
  let MODEL    = Bundle.main.path(forResource: "jarvis", ofType: "pmdl")
  var wrapper:SnowboyWrapper

  public var delegate:HotwordDelegate?
  override init() {
    wrapper = SnowboyWrapper(resources: RESOURCE, modelStr: MODEL)
    wrapper.setSensitivity("0.5")
    wrapper.setAudioGain(1.0)
    super.init()
  }

  deinit{
    self.audioEngine.inputNode.removeTap(onBus: 0)
    self.audioEngine.reset()
  }

  public func startSession() throws {
    // Reset the audio engine
    self.audioEngine.inputNode.removeTap(onBus: 0)
    self.audioEngine.reset()

    // Configure the audio session for the app.
    let audioSession = AVAudioSession.sharedInstance()
    try audioSession.setCategory(.playAndRecord,
                                 mode: .default,
                                 options: [.allowBluetoothA2DP, .allowAirPlay, .allowBluetooth])
    try audioSession.setActive(true, options: .notifyOthersOnDeactivation)

    let inputNode = audioEngine.inputNode
    let inputFormat = inputNode.inputFormat(forBus: 0)

     // <1 ch, 16000 Hz, Float32>
     let hwdFormat = AVAudioFormat(commonFormat: .pcmFormatFloat32,
                                   sampleRate: 16000,
                                   channels: 1,
                                   interleaved: true)!
    inputNode.installTap(onBus: 0,
                         bufferSize: 16384,
                         format: inputFormat) { (buffer: AVAudioPCMBuffer, when: AVAudioTime) in

      var convertedBuffer:AVAudioPCMBuffer? = buffer

      // Convert audio format from 44100Hz to 16000Hz for Hotword Detection
      // https://medium.com/@prianka.kariat/changing-the-format-of-ios-avaudioengine-mic-input-c183459cab63
      if buffer.format != hwdFormat {
        if let converter = AVAudioConverter(from: inputFormat, to: hwdFormat) {
          convertedBuffer = AVAudioPCMBuffer(pcmFormat: hwdFormat, frameCapacity: AVAudioFrameCount( hwdFormat.sampleRate * 0.4))
          let inputBlock : AVAudioConverterInputBlock = { (inNumPackets, outStatus) -> AVAudioBuffer? in
            outStatus.pointee = AVAudioConverterInputStatus.haveData
            let audioBuffer : AVAudioBuffer = buffer
            return audioBuffer
          }
          var error : NSError?
          if let uwConvertedBuffer = convertedBuffer {
            converter.convert(to: uwConvertedBuffer, error: &error, withInputFrom: inputBlock)
          }
        }
      }

      if let newbuffer = convertedBuffer{
        // Detect the hotword from audio buffer
        let array = Array(UnsafeBufferPointer(start: newbuffer.floatChannelData?[0], count:Int(newbuffer.frameLength)))
        let result = self.wrapper.runDetection(array, length: Int32(newbuffer.frameLength))
        /// 1 = detected, 0 = other voice or noise, -2 = no voice and noise
        if result == 1 {
          self.delegate?.didHotwordDetect()
        }
      }
    }

    audioEngine.prepare()
    try audioEngine.start()
  }

  public func stopSession(){
   self.audioEngine.stop()
   self.audioEngine.disconnectNodeOutput(audioEngine.inputNode)
   self.audioEngine.inputNode.removeTap(onBus: 0)
   self.audioEngine.reset()
  }
}
Hotword Detectorの利用
MyHWDetectorを初期化して、-startSession でHotword Detectionを開始する。
import AVFoundation

class AClass:NSObject, HotwordDelegate {
  let detector = MyHWDetector()

  func init(){
    do {
      detector.delegate = self
      detector.startSession()
    } catch {
      print("Error")
    }
  }

  func didHotwordDetect(){
    print(#function)
  }
}
あとはマイクに向かって、「jarvis」と言うと、-didHotwordDetectが呼ばれる。
収集音の同時記録
同時に生の音声を保存したい場合は、AVAudioFileにbufferを書き込む事で記録できる。例えば以下のコードを-installTap(onBus:bufferSize:format:block:) のブロック内で呼び出すことで、音声を保存できる。
let paths = FileManager.default.urls(for: .documentDirectory, in: .userDomainMask)
let docsDirect = paths[0]
let audioUrl = docsDirect.appendingPathComponent("sample.wav")

do{
  let outputFormat = audioEngine.inputNode.outputFormat(forBus: 0)
  let audioFile = try AVAudioFile(forWriting: audioUrl,
                                    settings: outputFormat.settings,
                                commonFormat: outputFormat.commonFormat,
                                 interleaved: false)
  try audioFile?.write(from: buffer)
}catch{
  print("Error: The target audio file does not exit.")
}
同様の方法で、iOSのSpeechライブラリ(Siri)を使って、ライブ音声認識も実現できる。GitHubのソースコードはこちら。